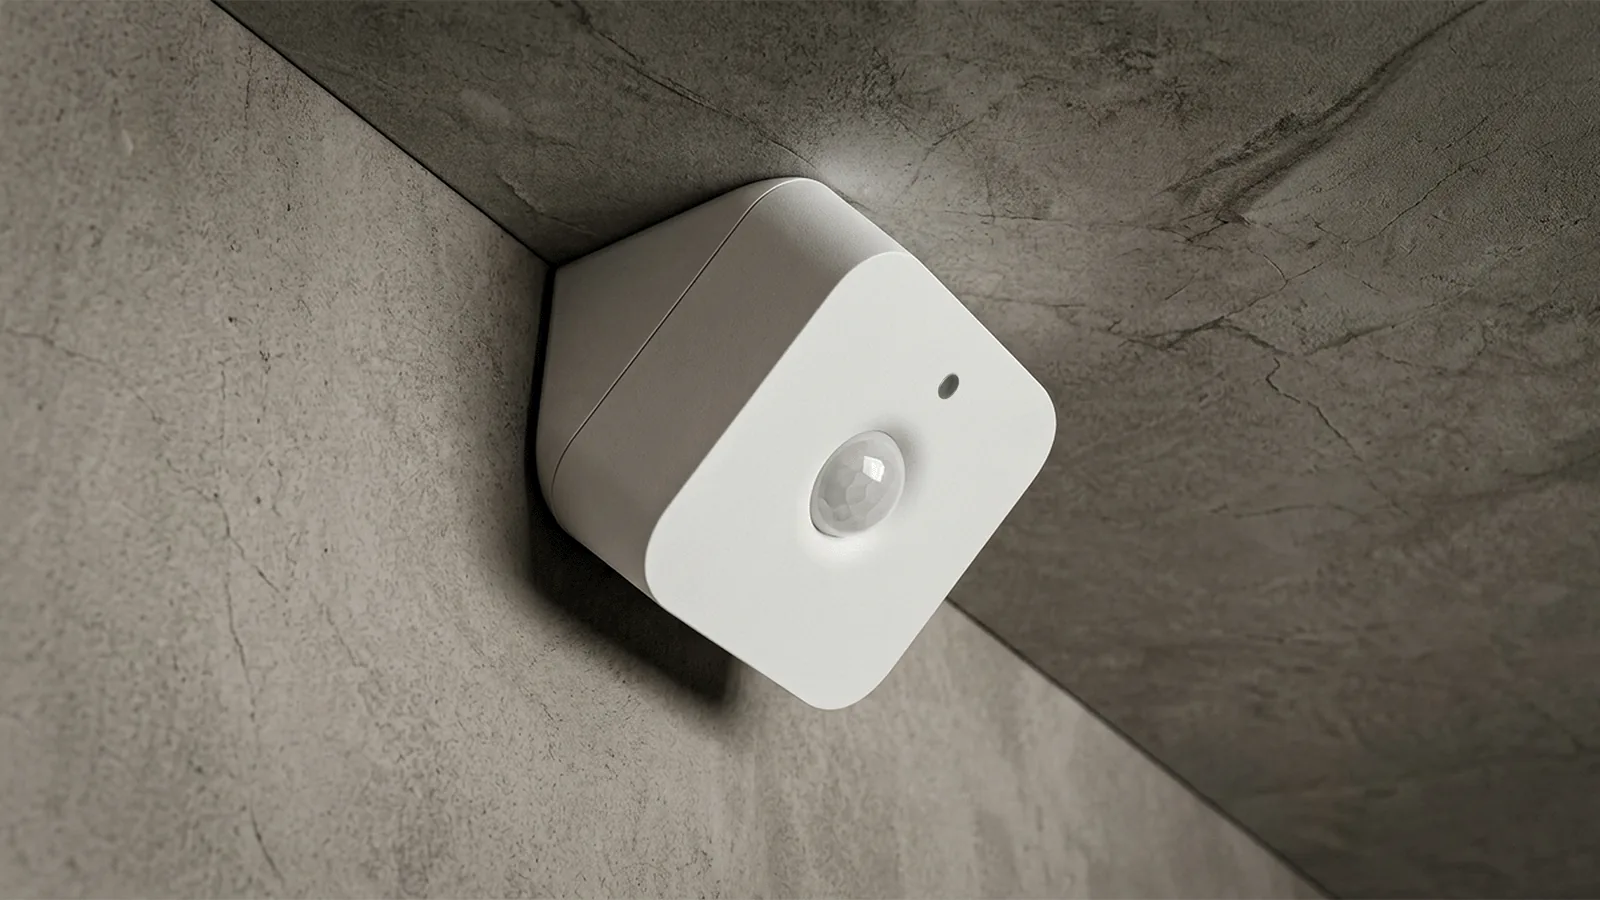
Wat is een bewegingssensor en hoe werkt hij?
Een bewegingssensor detecteert beweging in een ruimte en stuurt een signaal naar je smart-home systeem. De meeste sensoren die je in huis gebruikt — zoals de Philips Hue Motion Sensor of de Google Nest-compatibele modellen — werken op basis van passieve infrarood (PIR)-technologie. Dat betekent dat de sensor geen straling uitzendt, maar het infraroodlicht opvangt dat mensen en dieren uitstralen als warmte.
Zodra de sensor een plotselinge verandering in infraroodpatroon registreert — jij loopt door de kamer — geeft hij een trigger af. Die trigger kun je koppelen aan automatiseringen: lichten aan, verwarming omhoog, een melding op je telefoon.
Sommige nieuwere sensoren combineren PIR met radartechnologie (zoals de Google Nest Hub 2nd of de Aqara FP2). Radar detecteert zelfs subtiele bewegingen zoals ademhaling, wat handig is als je wilt weten of iemand stilzit in een stoel.
De ideale plaatsing: hoogte, hoek en positie
De plek waar je een bewegingssensor monteert, bepaalt voor 80% hoe goed hij werkt. Slechte plaatsing is de grootste oorzaak van frustratie: lichten die niet aangaan of juist te snel uitschakelen.
Optimale montagehoogte
-
2 tot 3 meter is de gouden zone voor PIR-sensoren in een woonruimte.
-
Te laag (onder 1,5 m): de sensor detecteert huisdieren als mensen en triggert constant.
-
Te hoog (boven 3 m): de detectiehoek wordt smaller en je mist bewegingen dicht bij de muur.
Detectiehoek en oriëntatie
De meeste PIR-sensoren hebben een detectiebereik van 90° tot 120° horizontaal. Richt de sensor loodrecht op de looprichting van mensen — niet parallel eraan. Als je langs een sensor loopt, is de infraroodverandering groter dan wanneer je er recht op afloopt.
Plaats de sensor bij voorkeur in een hoek van de kamer, zodat hij de volledige ruimte overziet. Voor een gang werkt een sensor aan het einde beter dan aan de zijkant.
Vermijd deze locaties
-
Direct zonlicht of in de buurt van radiatoren: warmtebronnen geven vals-positieve detecties.
-
Achter glas: infrarood passeert glas niet.
-
Boven airco-uitstroomopeningen: luchtbewegingen kunnen PIR-sensoren misleiden.
Stap-voor-stap: bewegingssensor instellen
1. Kies de juiste plek Gebruik de richtlijnen hierboven. Twijfel je? Houd de sensor tijdelijk vast op de gewenste plek en loop door de ruimte voordat je boortjes pakt.
2. Monteer stevig Een sensor die wiebelt of kantelt, geeft inconsistente resultaten. Gebruik daarom een degelijke wandhouder en zorg voor een stevige bevestiging. Afhankelijk van de ondergrond kun je de houder vastschroeven voor maximale stabiliteit of, indien gewenst, bevestigen met sterke dubbelzijdige tape. De KANN wandhouders voor de Philips Hue Motion Sensor zijn ontworpen voor een stabiele, verstelbare montage en bieden zo ook een praktische oplossing voor huurwoningen, waar boren niet altijd mogelijk of gewenst is.
3. Koppel aan je systeem Voeg de sensor toe via de bijbehorende app (Philips Hue app, Google Home, Apple Home). Volg de koppelstappen in de app; dit duurt meestal minder dan twee minuten.
4. Stel gevoeligheid en time-out in De meeste apps laten je de gevoeligheid (hoe klein een beweging moet zijn om te triggeren) en de uitschakelvertraging instellen. Begin met een vertraging van 3 tot 5 minuten voor een woonkamer, en 1 minuut voor een hal of toilet.
5. Maak de automatisering Koppel de sensor aan een scène of actie. Voorbeelden:
-
Hal: licht aan bij beweging, automatisch uit na 2 minuten.
-
Thuiskantoor: licht aan én do-not-disturb modus op je telefoon bij aanwezigheid.
-
Slaapkamer (nacht): dim licht naar 5% bij beweging tussen 23:00 en 06:00.
Veelgemaakte fouten (en hoe je ze voorkomt)
Sensor te snel uitschakelen Een te korte time-out betekent dat het licht uitgaat terwijl je nog in de kamer zit. Vergroot de vertraging of gebruik een sensor met aanwezigheidsdetectie.
Eén sensor voor een grote ruimte Een open woonkamer van 40 m² dek je niet af met één sensor in een hoek. Gebruik meerdere sensoren of kies een model met een breder bereik.
Vergeten te kalibreren na verplaatsing Heb je de sensor verplaatst? Reset dan je automatiseringen en controleer de gevoeligheid opnieuw. De omgeving verandert mee.
Sensor op een vlakke muur in plaats van een hoek Op een vlakke muur dekt een sensor maximaal de helft van de ruimte. In een hoek gedraaid verdubbel je het effectieve detectiegebied.
Bewegingssensor combineren met andere slimme apparaten
Een bewegingssensor wordt pas echt krachtig als je hem combineert met andere apparaten:
-
Slimme lampen: de meest voor de hand liggende combinatie. Koppel aan Philips Hue-groepen voor consistente scènes.
-
Slimme thermostaat: activeer een verwarmingszone alleen als iemand in de ruimte is.
-
Slimme speakers: laat een welkomstbericht afspelen of start een afspeellijst.
-
Beveiligingscamera's: gebruik de sensor als trigger voor opname, in plaats van continu op te nemen.
Houd er rekening mee dat bewegingssensoren op batterijen werken (in de meeste consumentenmodellen). Controleer het batterijniveau regelmatig via de app en vervang batterijen proactief — een lege batterij op het verkeerde moment is vervelend.
Klaar om je sensor goed te monteren?
Een goede sensor begint bij een goede montage. Bij KANN vind je 3D-geprinte wandhouders, standaards en accessoires voor populaire bewegingssensoren van Philips Hue en andere merken — strak, stevig en eenvoudig te plaatsen met schroeven of dubbelzijdige plakband. Bekijk het aanbod in de KANN shop en geef je slimme huis de afwerking die het verdient.